
It's been a challenge this last month trying to get myself organized at the home front, but I feel like I'm going to reach it by the end of this year which is a good feeling. I've lived in my home for over a year and a half so it will be nice to finally have my home looking like a place I can be proud of.
Lately, my focus has been completing mini projects for any room, and getting my 3rd floor room ready to tackle all of these projects. It's basically going to become my creative space. Yep I'm finally going to have a place where I can set up my computer and blog on a regular basis, work on my diy projects and my workout gear.
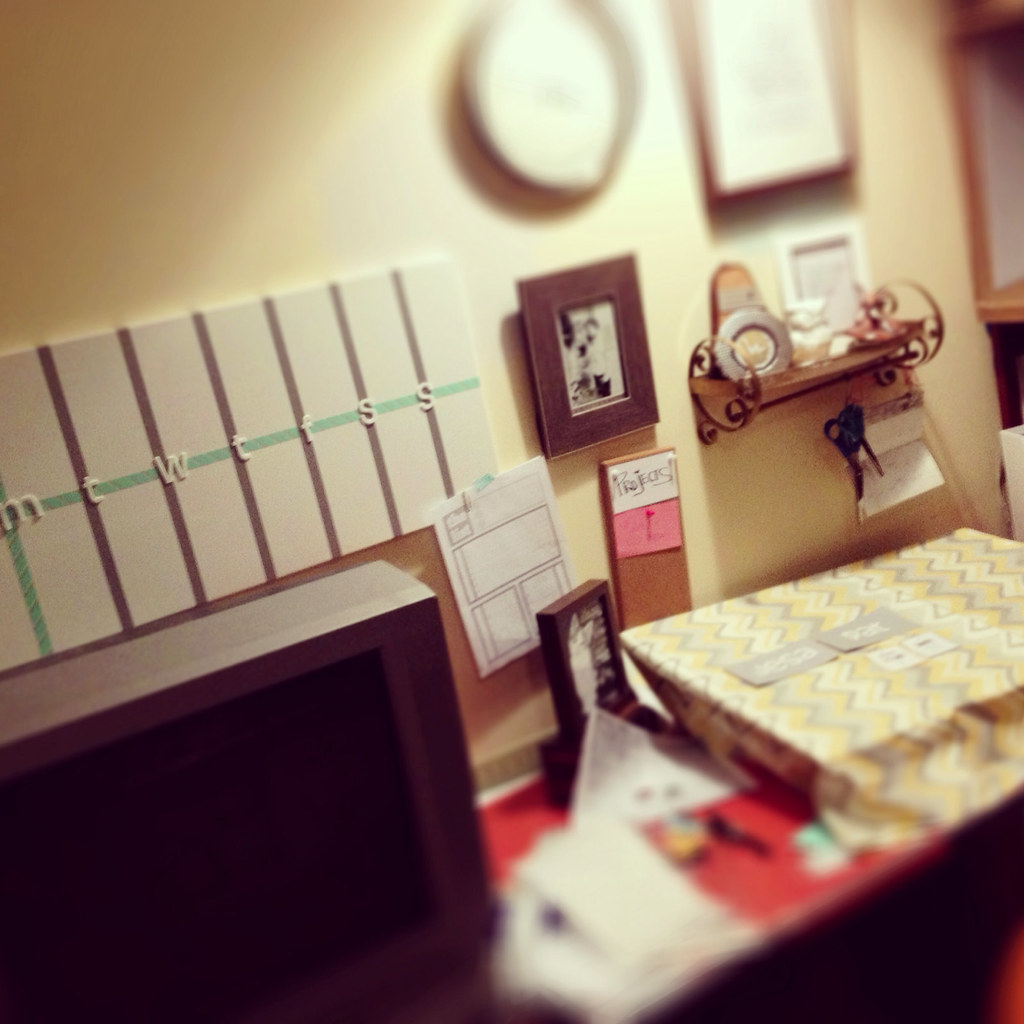
Here is what I have so far, a make shift desk with a formica table top and 2 mcm end tables. I'll have a post coming in the next week or 2 with how the room is coming along. It really is getting closer, however I'll feel better once I have a legit desk and workspace for bill paying.
the white board is magnetic $13 and purchased recently from IKEA. I used some mint & pink, gray/silver WASHI tape from JoAnn's to separate the days of the week and then added some white letter stickers from TARGET $5.
I've had this frame for about a year now, and finally have a room where it's going to fit in. I purchased it from TJMAX or Marshals and I'm really glad to finally have a home for it, because I really love this frame. In it I've added a post card photo of Andy Warhol that I purchased from his museum in Pittsburgh a few years back.
Above the photo is a modern clock with a silver rim. I've had it forever it seems.
I'm not a fan of the gold, but I love the shape of this shelf and was happy when I saw it for only $1 at a second hand store, especially since it runs over $20 on etsy. This is the closet shelf I could find now that's similar. I plan to paint it to match the new wall color, well it will match once I paint the wall. I just decided on the wall color last week, Love in the Mist by Martha Stewart.
on the shelf I have a white ceramic rooster I found at TJMAXX last year. I'm not a fan of roosters, but I really loved the modern twist on this one and just had to have it. The mini pear bulletin board is also a second hand find with some scrapebook paper added for some visual interest. The round frame is also from TJMAXX and I added a DIY art of SUN SHINE. I used a similar method like my repeat art. A white ceramic owl from TJMAXX, a 5x7 wall frame from IKEA with print out of an inspirational quote and then I used a pink sharpie to trace over the arrow and added a felt heart over the red one for some dimension. I also have a vintage deer stapler. I used some s hooks from IKEA grundel collection to hang my scissors from the towel bar.
The mini corkboard is from Target. I frame a cat print in my IKEA Ribba 5X7 frame. The yellow chevron fabric is from Joann's. It's the beginng process of my chore chart.
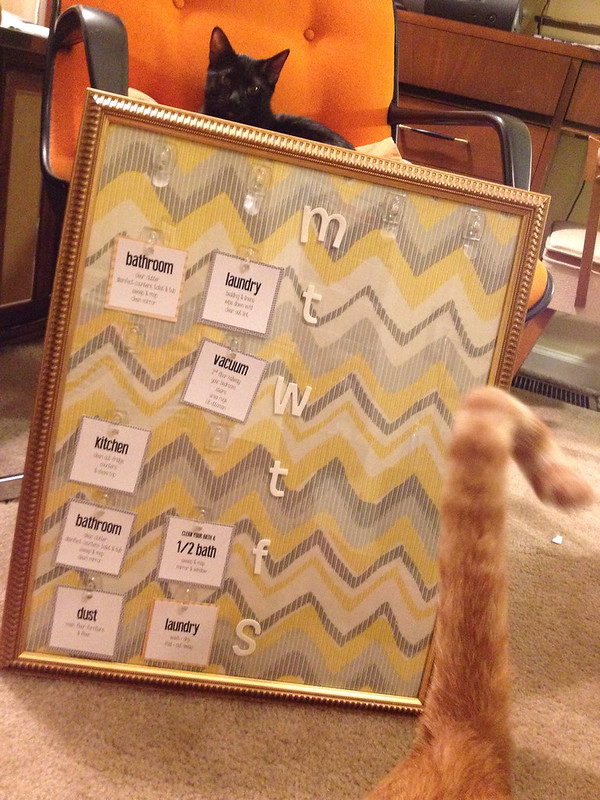
Here's where my chore board is at now and of course Adonis Mr. Center of attention and Goldie working his way out of the frame. I took the day stickers from the white board above my desk since I had added them with the intention of using that board for the chores, but liked this idea better. I really wanted to use this chevron fabric that I found at JoAnn's last week and on sale.
I still need to laminate all the cards and cute out the tab holes, then add more command hooks. You can buy them in a pack of 18 for around $8. I used a few inspirations for the board, which you can find oops I craft my pants, the workman family, the daily 5, and a beautiful mess,
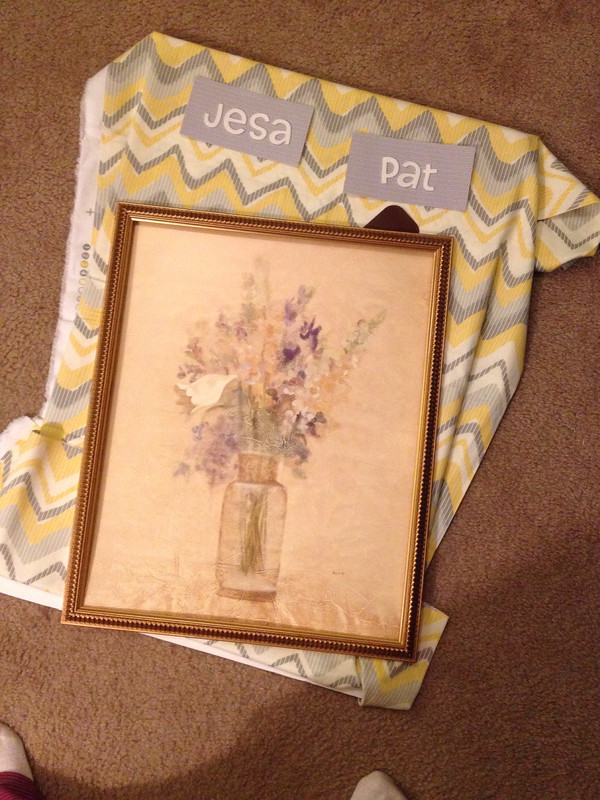
I had this frame, along with it's twin that I used for another project (below), waiting for my command center. It feels good to finally move out of the planning stage and into the implementation. The frames were about $3 for the and they have plexiglass fronts which was a plus for me.
Once I took the original picture out I cleaned the plexiglass with window cleaner and to help move back all the picture tabs on the back I used a pan scrapper, which is a major time saver and easier on your fingers.
I also ironed out the fabric to smooth out the creases and sprayed 2 coats of starch (allowing a few minutes between coats and a quick iron before adding the 2nd coat) on the fabric before wrapping it around the backing.

I used painters tape to secure it to the back. I like straight lines even when no one sees it so I used the scissors to also cut my painters tape. I used the level to make sure the chevron pattern was straight before taping.
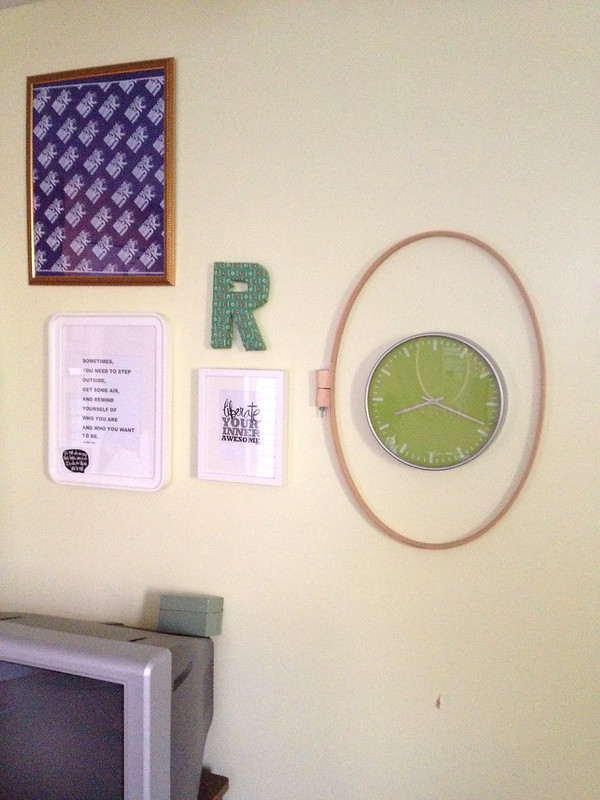
After my first 5K color run in DC last month I purchased a blue color run scarf to frame and add to my run wall. I used the twin frame to the chore chart and followed the same process as I did above to wrap the fabric. I plan to add 2 more run inspirations next to the color run art, but I didn't get around to doing that today.
No comments:
Post a Comment